- Floppy drive (depending on version & type of client in use)
- Floppy adapter
- IDE ports
- Serial ports
- Parallel ports
Given that some of these are redundant (why keep the IDE adapter when you're using SATA for the optical device?) while others are polled I/O in Windows (OS must keep checking to see if there's activity on the port, even if there will never be any), it just makes things more streamlined if you cleanup these settings when creating a new VM...then using the cleaned-up VM as a template for creating new VMs later on.
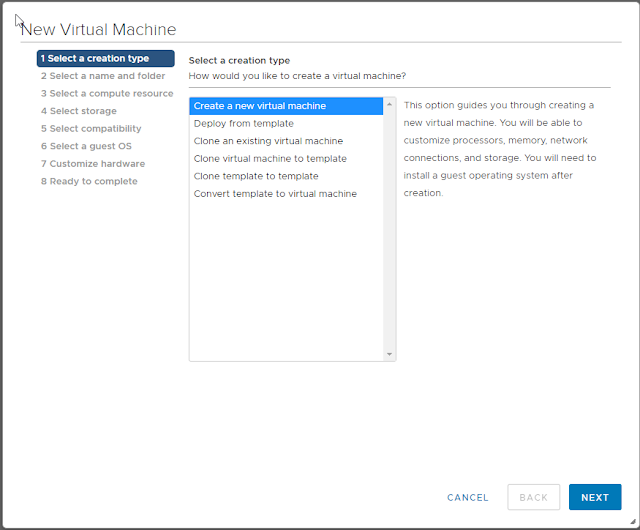
Step 1: create a new VM
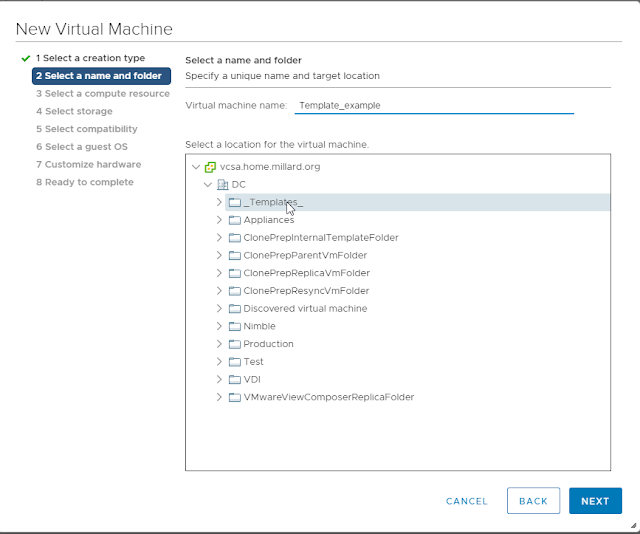
Step 2: Set VM name and select a location
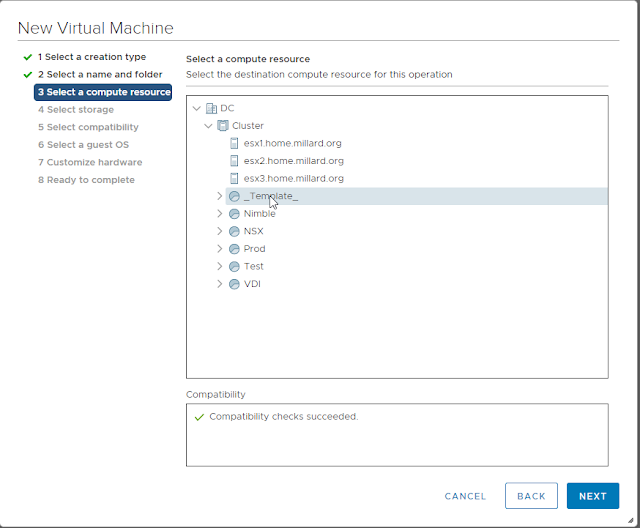
Step 3: Select a compute resource
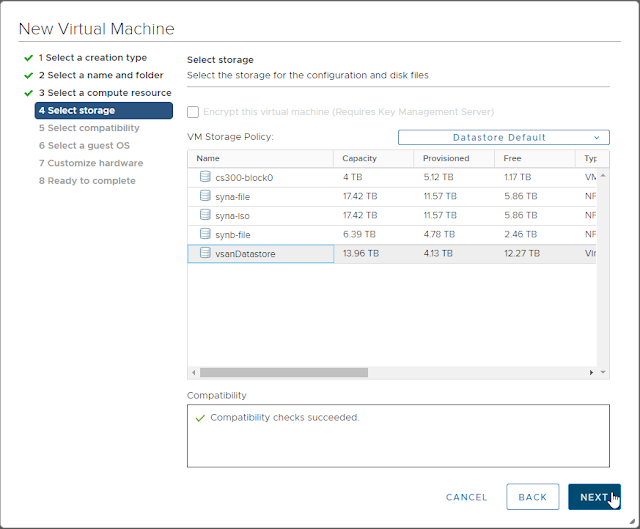
Step 4: Select storage
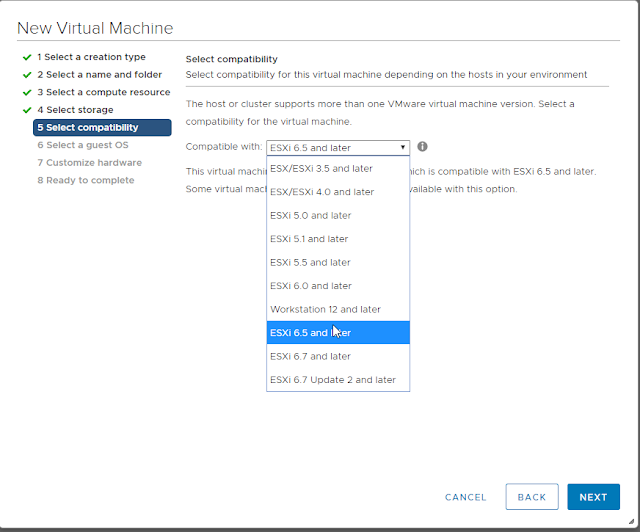
Step 5: Set compatibility no higher than your oldest version of ESXi that the template could be deployed on.
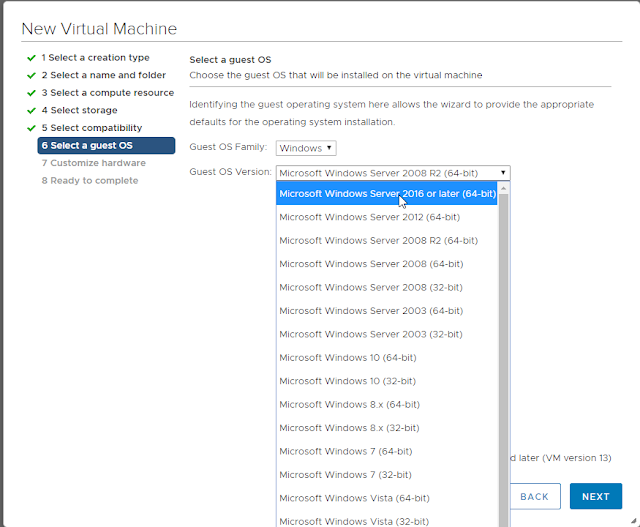
Step 6: Select the guest OS you'll install
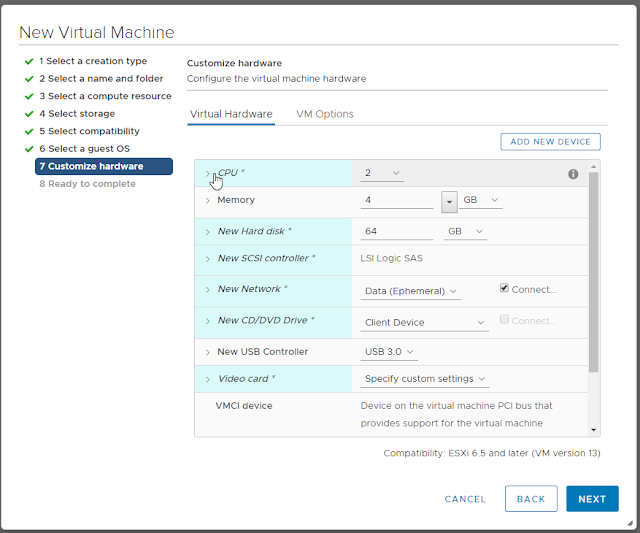
Step 7a: Customize hardware: CPU, Memory, Hard Drive
Step 7b: Attach NIC to a general-purpose or remediation network port
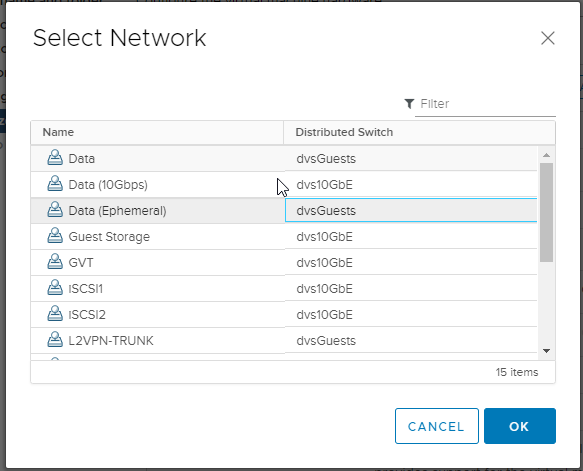
Step 7c: Don't forget to change the NIC type! If you don't the only way to change it later is to remove & re-add the correct type, which will also change the MAC address and, depending on the order you do the modifications, could put the new virtual NIC into a different virtual PCIe slot on the VM hardware, upsetting other configurations in the guest (like static IP addresses).

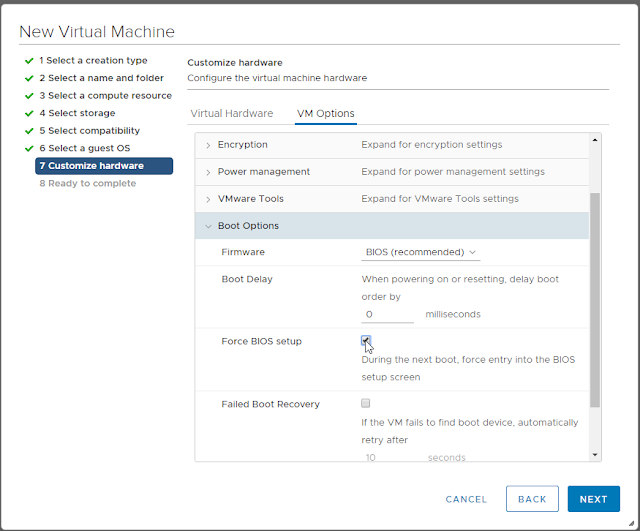
Step 7d: Jump to the Options tab and set "Force BIOS setup"
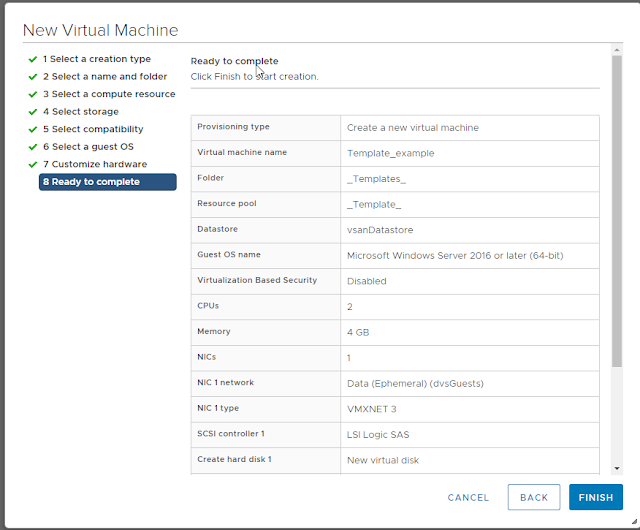
Step 8: Finish creating the VM
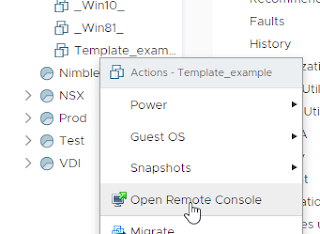
Step 9: Open remote console for VM
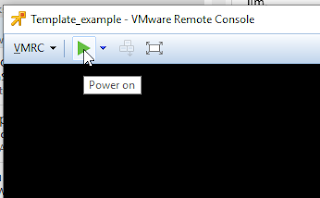
Step 10: Power On the VM. IT should pause at the BIOS editor screen.
Step 11: On the Advanced page, set Local Bus IDE to "Disabled" if using SATA; set it to "Secondary" if using IDE CD-ROM (Even better: Change the CD-ROM device to IDE 0:0 and set it to "Primary").
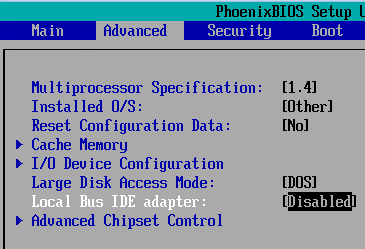
Step 12: Descend into the "I/O Device Configuration" sub-page; by default, it'll look like the screenshot below:
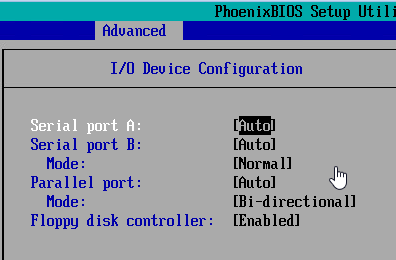
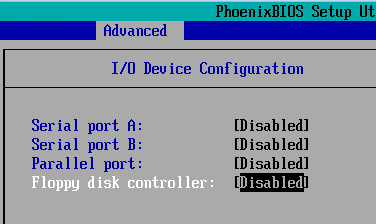
Step 13: Using the arrow keys & space bar, set each device to "Disabled", then [Esc] to return to the Advanced menu.
Step 14: Switch to the Boot page. By default, removable devices are first in the boot order.
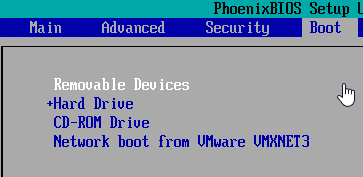
Step 15: Use the minus [-] key to lower the priority of removable devices. This won't hurt the initial OS setup, even on setup ISOs that normally require a key-press to boot off optical/ISO media: the new VM's hard drive has no partition table or MBR, so it'll be skipped as a boot device even when it's first. Once the OS is installed, you'll never have to worry about a removable media causing a reboot to stall.
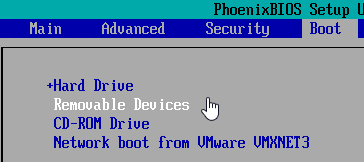
Step 16: Press [F10] to save the BIOS config, then use the console to attach to an ISO (local or on a datastore) before exiting the BIOS setup page.

Step 17: Install the guest OS, then add VMware Tools. Perform any additional customization—e.g., patching, updates, and generalization—then convert the new VM to a template.
You're set! No more useless devices in your guest that take cycles from the OS or hypervisor.
Additional Note on modifying existing VMs:
Aside from the need to power down existing VMs that you might want to clean up with this same procedure, the only issue I've run into after doing the device + BIOS cleanup is making sure I get the right combination of IDE channels & IDE CD-ROM attachment. The number of times I've set "Primary" in BIOS but forgot to change the CD-ROM to IDE 0:0 is ... significant.
Additional Note on Floppy Drives:
Floppy drive handling is a special case, and will very much depend on which version of vSphere—and therefore, the management client—you're using. If you have the "Flex" client (or are still using v6.0 and have the C# client), the new VM will have a floppy disk device added by default. Naturally, you want to remove it as part of your Hardware Customization step during new VM deployment.
If you're happily using the HTML5 Web Client, you may find that the floppy is neither present, nor manageable (for adding/removing or attaching media)... This is the 0.1% of feature parity that I still find lacking in the H5 client. Hopefully, it'll get added, if for no better reason than to allow an admin to remove floppy devices that are still part of VMs that were created in older versions.
